Folding forward is just the first step in our exploration of letting go and release through yoga. One step further in movement would be to fold forward and twist.
As we have discussed, anytime we bring our torso close to our thighs or the other way around, it is a forward fold. When we fold forward, we press our internal organs with our lower limbs – the stomach, live, spleen and intestines – thereby releasing possible residual toxins stored there.

When we fold and twist at the same time, there is the added component of pressure to these organs, as well as the opening of our posterior chain in a way we don’t usually stretch them out. This means we have both a release in the internal organs, as well as a release in the skeletal muscles.
Here are four yoga poses (some in modified form) to help you get on your way!
IMPORTANT: these instructions are for apparently healthy adults with no injuries. Please do check with your doctor if you may practise these yoga poses. If you do have injuries, and need modifications, please do contact me.
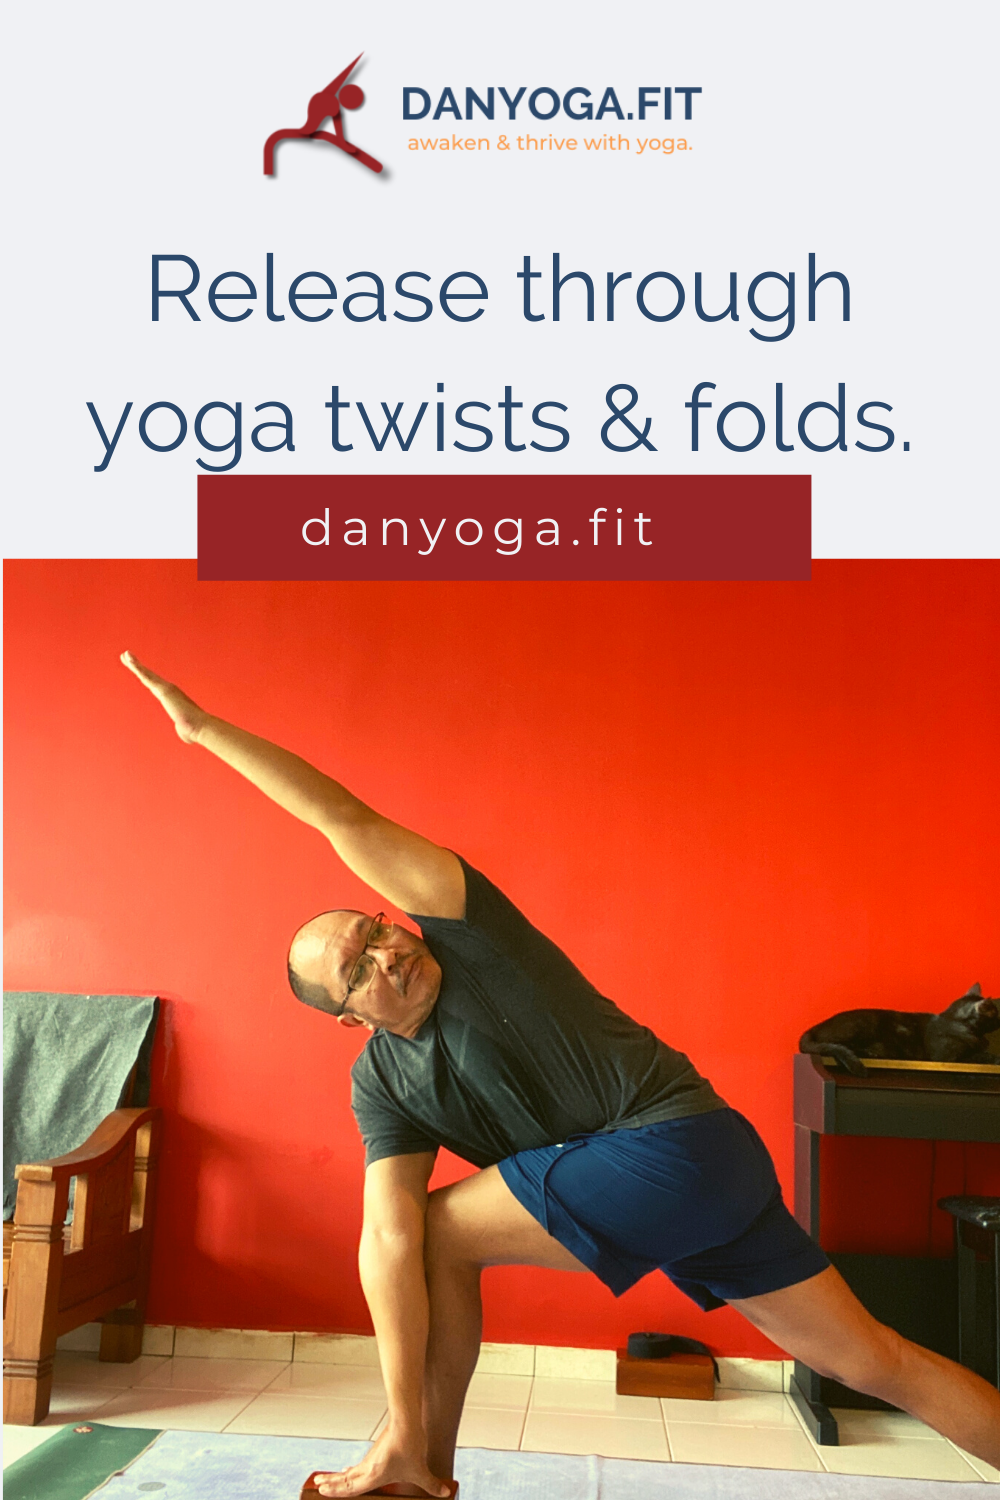
Parivrtta parsvakonasana (revolved side angle pose).
This yoga pose can be quite intense, especially if you have never practised it before, or are athletically-inclined, or sit the whole day. There are steps we can take towards moving to this asana though, so no worries.
It opens up your hips, IT bands (side of thighs), lower back, while opening the chest AND pressing the internal organs of one side into the opposite thigh. A first big tip for any twist is to expand. Many times, new practitioners are taken with the folding and the twisting, then they forget about opening up the chest, lengthening the spine and extending the back leg – all these three activities support the twist and fold, so have awareness on them as well.

How to get into the pose:
- From Table Top position, extend the left leg back, pushing into the ball of the left foot, stretching out hamstring and calf.
- Then, placing weight on your hands, lift your right knee up, lifting your hips higher so you can step your right foot forward near your right hand.
- Then place your left knee down, and square your hips toward the front of your mat.
- Keep your right knee at a 90-degree angle. Make sure the centre of your left kneecap is placed on the floor (place a foam block, a towel or other cushioning of you experience discomfort – don’t worry, we are here only momentarily).
- If you have never practised this before, continue on with the following step – otherwise skip it and move to step 8.
- Keep your left hand down and lift your right hand up as you lengthen the spine forward. Keep reaching upward with the left hand as you twist to the right.
- Once you feel comfortable, go on to your left toes and lift your left knee up – stretching out the left hamstring and calf in a lunge twist position. This will warm you up for the next movement. After five breaths, lower the left knee down and release the twist.
- Lift your torso and spine up, and place place your palms together in prayer position (Anjali mudra – palms at heart centre), Have your thumbs touch your breastbone.
- On the next exhale, twist your torso to the right and bring your left elbow to the outside of your right knee. Once comfortable, you may go on to the left toes and lift up your left knee as before.
- Keep your chest open with your spine lengthening, engage the core and keep your breath long and eye-gaze soft.
- After five breaths, you may either take a break or move onwards below.
- Still with the right leg in front, repeat steps eight until 10. Then once in the twist, take your right hand to the floor or a block as you press your right arm into the outside of your knee. Reach your left arm straight up or reaching out over your left ear, with your palm facing the floor.
- Once comfortable, go on to your left toes and lift up your left knee. You may either stay here or work towards placing the back heel on the floor (don’t worry if It does not get there initially).
- Keep your breath long and eye-gaze soft. As you inhale, lengthen your spine more, and as you exhale, see if you can twist a little more.
- After five breaths, untwist yourself, lower the left knee and repeat the process on the other side.
Parivrtta trikonasana (revolved triangle pose).
This yoga pose requires activation of the core, quads (front thights) and also gives you the opportunity to concentrate, as there is a degree of balance involved. The asana improves your stability, strength and your ability to ground and focus. As with the previous yoga posture (and any twist and fold yoga asana), be mindful of the expansion capacities of the pose – what can you expand? Can you reach upward more, lengthen the spine more, open the heart-space? Think of these aspects as you practise this asana.

How to get into the pose:
- Begin in Tadasana (mountain pose) at the front of your yoga mat. Step your left foot back, about three to four feet apart (hint: if you have never practised before, go for a shorter split stance).
- Place your hands on your hips and square them to face the front of the mat, being mindful that the left hip (your hind leg) is not further back than your right. Rotate your left foot to point to the left front corner of the mat, or traditionally, even facing the left side of the mat (i.e. 90 degrees to the right foot). Align your right heel with the left.
- Engage your quads (front thighs) and rotate the right front thigh outward, away from your midline.
- On the next exhale, fold forward (while extending your torso) to the right, directly over your right leg, folding forward from the hip, and not the waist. Ensure your left leg is strong (as opposed to wilting) and press your outer left heel firmly down.
- Keep lengthening the spine forward, while keeping the left and right sides of your torso equally long. You may even wish to draw the right hip / butt back a little while drawing forward the left.
- Rest your right hand on your shin / ankle / block outside the right foot / floor outside your right foot – wherever your reach is possible without compromising the length of the spine and the openness of the chest.
- Once comfortable, stretch your left arm toward the ceiling. You may either look down (not advisable as you may be folding forward more than twisting) or sideways to the right, or if possible, upward with eye gaze to the left thumb. If gazing towards the left thumb, the thumb and nose are about in a straight line.
- Stay in this pose for five breaths, then release step by step, and repeat the process on the other side.
Pasasana (noose pose).
Pasasana or noose pose is a pretty challenging pose, considering the amount of spinal mobility, shoulder flexibility and ankle strength and flexibility required. Don’t worry – I myself cannot get into the full expression of the asana (yet!).
Still, yoga isn’t about the end-points but the journey we have as we get there. We will look at modifications for this pose, and also what you may need along the way if you experience tightness in shoulders, chest or ankles.

How to get into the pose:
- Stand in Tadasana (mountain pose), then bend your knees as in Utkatasana (chair pose).
- Once there, rotate your feet and knees outward a bit and lower yourself into a full squat (or malasana / garland pose). Once comfortable, if you can, draw your feet and knees as close together as possible. Be mindful if there are sharp pains in the ankle / knee / hip. If there are, move to step 3, if not, jump straight to step 4.
- If you find your heels lifting off the mat, place a rolled towel or a yoga block to support your weight and keep sheering force off the knees. If your knees or hips are painful, stack a few yoga blocks and squat on to them (i.e. place your butt on them until you are almost in a position of an unsupported low squat.
- Draw your knees slightly to the left, and as you exhale, twist your torso to the right. Try to have no space between your torso and thighs.
- If this is a good challenge for you, then place your palms in prayer position (Anjali Mudra) and get in a similar position as with modified parivrtta parsvakonasana (steps eight and nine above). You may remain here for five breaths. If you are comfortable, move forward to step six.
- If you are comfortable, bring the back of your left arm and shoulder toward the outside of your right thigh. Have your right knee, your left arm and left shoulder pressed firmly against each other. Lengthen the left of your torso so as to be able to place it more alongside the tops of your thighs.
- If this is a good challenge for you, then place your palms in prayer position (Anjali Mudra) and get in a similar position as with modified parivrtta parsvakonasana (steps eight and nine above). You may remain here for five breaths. If you are comfortable, move forward to step eight below.
- Reach your right arm behind your back, bend your elbow, and clasp your right wrist with your left hand, to form a bind. Stay here for five breaths and repeat the process on the other side.
Marichiasana C (Sage Marichi’s pose – variation C).
There are four asanas dedicated to Sage Marichi, and this is the third. This seated yoga pose entails a deep stretch along your the back, and helps to keep your spinal disks supple.
Twisting in this yoga posture is challenging, so don’t force it. Have your pelvis grounded, and your spine lengthened. Twist evenly through your spinal column to prevent risk of injury to your low back.

How to get into the pose:
- Begin in dandasana (staff pose). Ensure your quads (front thighs), knees and toes face upwards towards the ceiling.
- Check that you are seated right on your sit bones, rather than leaning back behind them.
- Draw your right heel back, in line as your sit bone (this is often a bit further to the right than you might realise – your right foot does not touch your left thigh).
- Keep the left leg active, as you inhale, lifting your left arm upwards to the ceiling and taking your right hand behind your right hip (thereby twisting).
- As you exhale, slot your left elbow outside of your right knee.
- Keep the left leg activated, check that it doesn’t rotate outward because it’s relaxed.
- With every inhale, lengthen more along your spine. And with every exhale, twist more towards your right.
- After five breaths, exit back to dandasana.

As you twist and fold…
consider what you are trying to release or let go. Be positive that it will happen. But don’t allow a cloying “must-do” capacity to sink in. Invite that capacity to release and let go to come, and when the time is right, it will.

The Mindful Mornings
mini course
If your days are fraught with stress and anxiety, this mini-course is for you!
It offers methods on how to incorporate mindfulness into your mornings and includes:
- An introductory video
- A guided meditation video
- A yoga movement practice video
- A video on examples of mindfulness routines you can incorporate into your mornings, AND
BONUS CONTENT:
- Mindful Mornings Modalities – four videos
- Yoga Wall Stretches for the low back – four videos
- A mindful morning pdf checklist